How To Start Seeds At Home
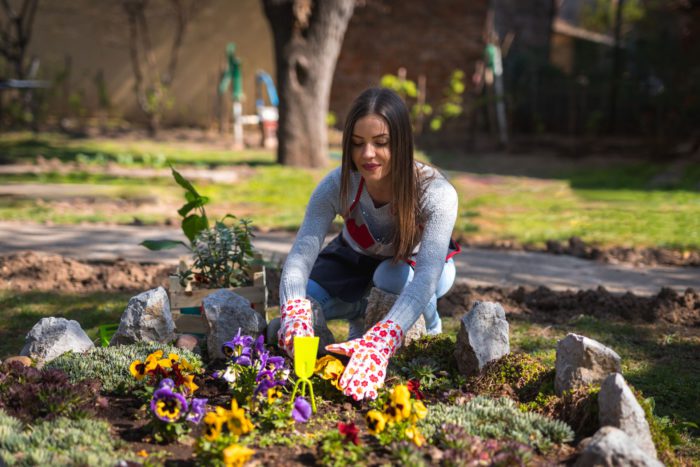
Are you ready for an adventure? Growing your own food or flowers at home is a fun and productive hobby. It’s healthy, it’s fun, it encourages lots of outdoor time for the household, and best of all, it ends in rewards you can harvest! With a bit of effort and some basic skill and patience, this can be the summer that you bite into your very own homegrown tomato… there is nothing else quite so delicious! Here’s a look at how to start seeds at home.
Why Start Seeds At Home?
First off, if you’re not down with the whole ‘growing from seed’ thing, that’s ok! You can still enjoy a wonderful garden this season with plants purchased from the garden centre in spring, and many folks prefer to do it this way. Why would you choose to start your own seeds instead? Winter is long. Like, really LONG. Starting the garden season in January by browsing seed racks, filling trays and pots with fresh soil, and dreaming about the possibilities of the season ahead can be an uplifting and cathartic way to get through the depth of the winter chill. Whether your garden ambitions are large or small, there is much to be learned by growing plants from seed to harvest, and it feels good to be part of that process!
Selecting interesting varieties that can’t often be found in garden centres is another great reason to try starting seeds. Want a weird type of tomato? A specialty cut flower garden? Unique veggies and herbs that Grandma grew back home? Growing plants from seed allows you the widest possible range of options for your garden.
Gearing Up
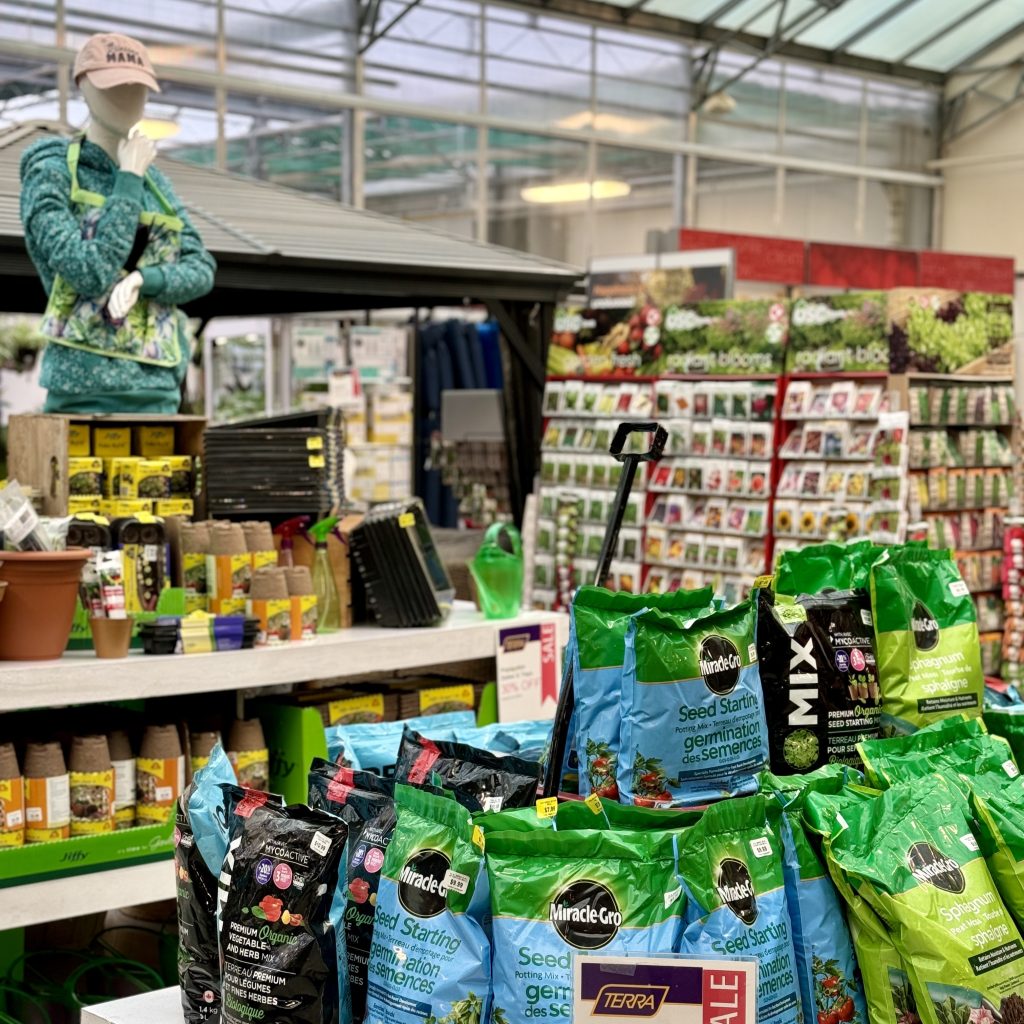
If you’re been into TERRA lately, you’ll have found that there is no shortage of equipment, accessories and supplies that can help to make seed-starting easier. With such a wide range of options available, it’s easy to find a system that will work for your space and your budget. Here are the basic items you’ll need to start seeds at home.
Trays, Pots or Containers
Naturally, you’re going to need something to physically grow your plants in. Seed starting kits are a perfect place to start, and include a tray, cell inserts (to keep seedings separate) and a humidity dome to help maintain humidity and increase germination. All of these components come in various sizes and styles, and can also be purchased separately as well. See the selection online here.
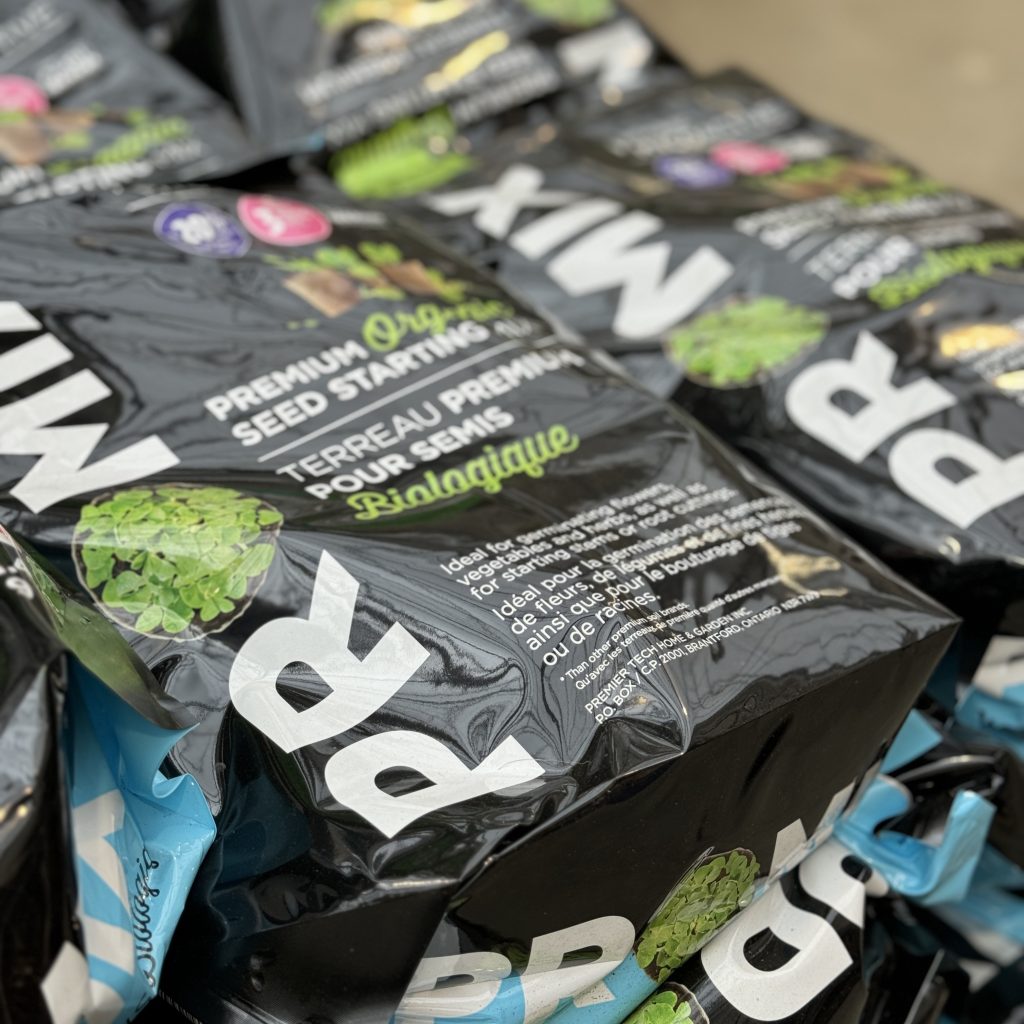
Growing Medium
You don’t grow plants in dirt! Seeds need a balance of great drainage and air flow and water retention to successfully germinate and thrive. Seed starting mix that’s ready-to-use right out of the bag makes this easy. It’s light and airy, and is specifically mixed to provide the right amount of water retention and aeration. Alternately, some kits include peat pellets, which expand when soaked and become a perfect, tiny, seed-growing package.
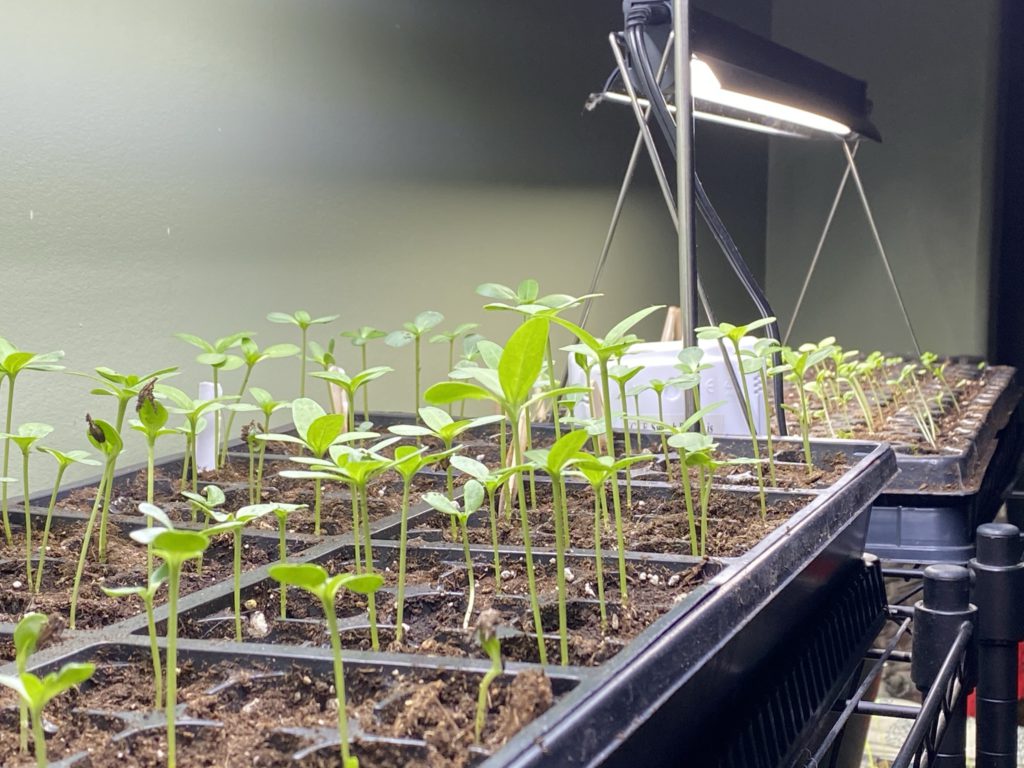
Light
Getting enough light is easily the biggest challenge to a home seed-starter. While a bright, south-facing window CAN do the trick in some cases, growing healthy baby plants requires consistent, bright light. Thankfully, home plant lighting is becoming more accessible and affordable than even before! Some seed starting kits come complete with lighting, and many options exist that include bulbs, holders and stands all together. Seedlings should have 14-16 hours of light each day.
Heat
Think of the garden in spring and summer… the soil needs to be both warm and consistently moist for little seeds to grow! A warm countertop can often suffice, but for faster, more consistent results, a heat mat is ideal. This waterproof, electric pad fits beneath a seed tray or pots, and provides consistent, low heat to warm the soil and encourage quick germination and root development.
Seeds
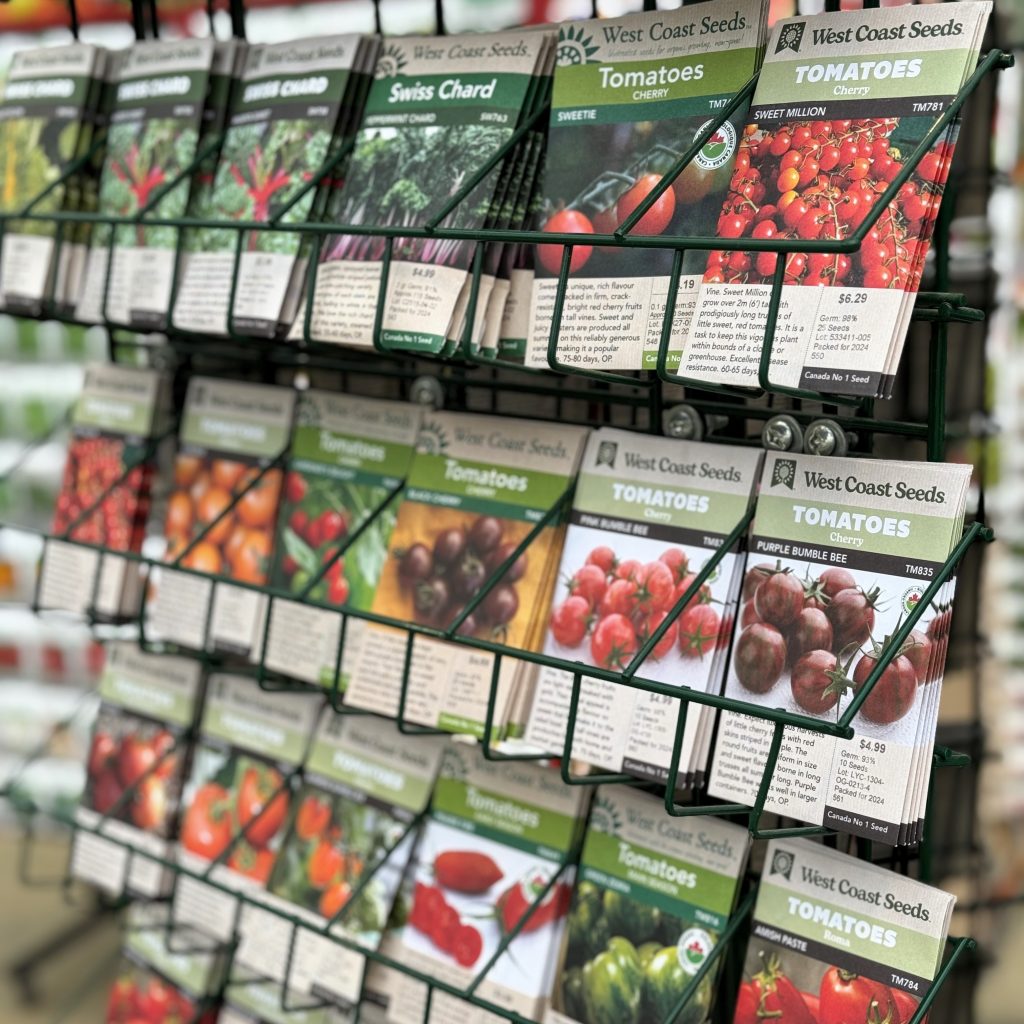
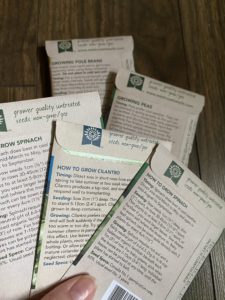
Seed packages are excellent sources of information.This is the best part! Little packages of endless potential in every shape and colour imaginable await! Not only are seeds fun to browse and buy, but seed packages are full of helpful and useful information for growing. Read the plant descriptions to help make the best decisions for your space, and follow the planting and timing directions for the varieties that you choose. Store your seeds in a cool, dry place, and they can stay viable for up to two years.
Our friends at West Coast Seeds have created a very handy chart to help with timing! Some plants take longer to grow than others, so certain varieties need to be sown indoors as early as 12 weeks before the last frost date, while others can be started just 4 weeks before the spring thaw arrives. This chart makes it easy to see which seeds should be started when.
2023_Southern_Ontario_GTA_Vegetable_Planting_Guide
Ready, Set, Grow!
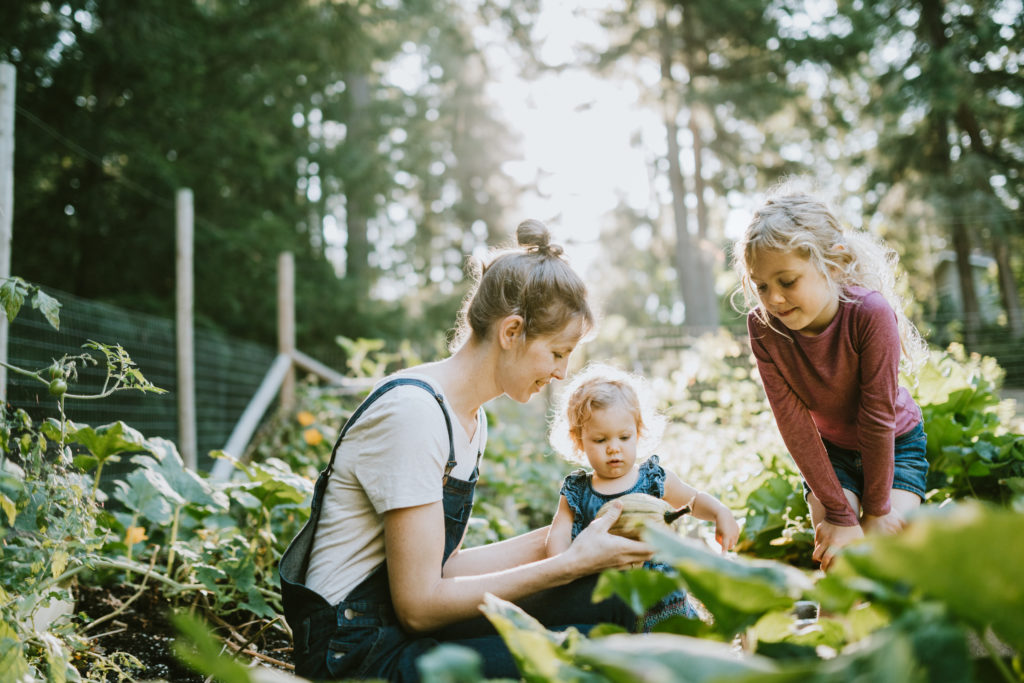
You’ve got your gear, you’ve got your seeds, and you’ve made your plan. Time to get growing! Group your seeds together by sowing date, and decide how many of each type of plant you’ll want for your garden. Remember that while seedlings are tiny, some (like tomatoes) grow into massive plants! It’s a good idea to grow a few extras, in case of unexpected mishaps (which happen to the best of us!)
Sowing seeds is a mood-uplifting activity for mid-winter that anyone can enjoy.
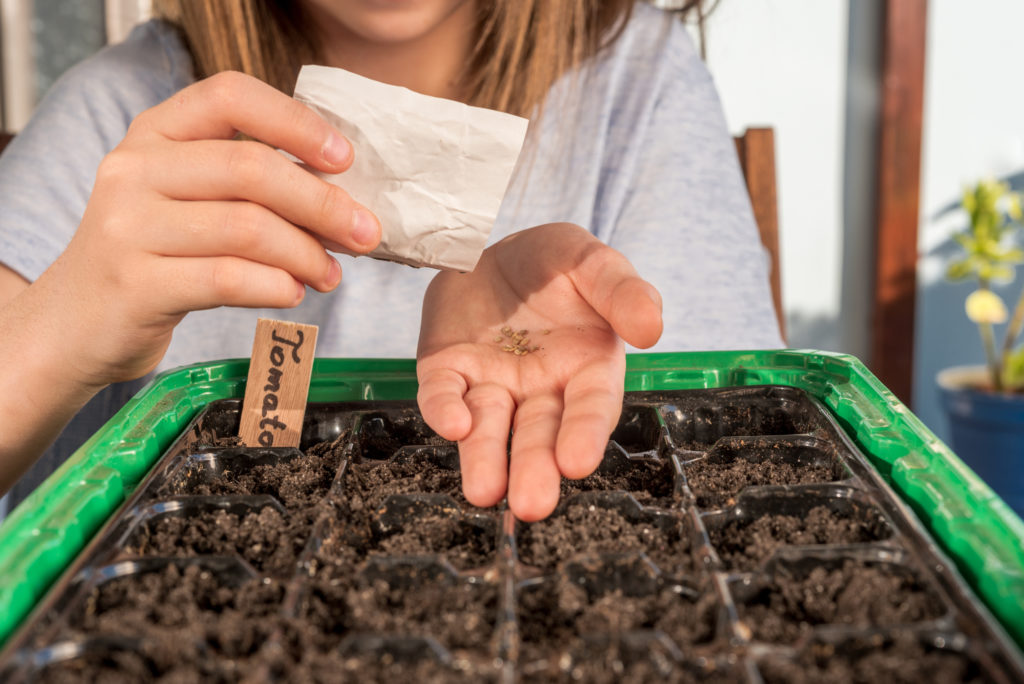
Sowing The Seeds
Plant one variety at a time, making sure not to mix everything up! Again, refer to your seed package – it will tell you how deep to plant each variety. A bit deep is ok, but too shallow can result in your little seedlings getting washed up when you water, and that’s heartbreaking! Begin by making small divots into the soil surface of each cell or pellet, then drop 1-3 seeds in each. It’s wise to always sow several seeds in each cell, which will allow for any germination troubles, and can easily be thinned out later… ultimately, you want a single plant per cell or pot. When you’ve seeded a single variety, cover over the seeds with a bit of soil and make sure to label. Then repeat the process with each variety until you’re done!
Watering Seedlings
When your planting is complete, you want to water the soil so that it’s damp, but not wet. The seeds will need to stay consistently moist and warm in order for their little coats to break open and for their internal mechanisms to trigger growth. A smart method for early watering of new plantings is to use a gently spray from a spray bottle or mister to moisten the soil without washing tiny seeds away. A small watering can with a long, thin neck is ideal for watering more established seedlings later.
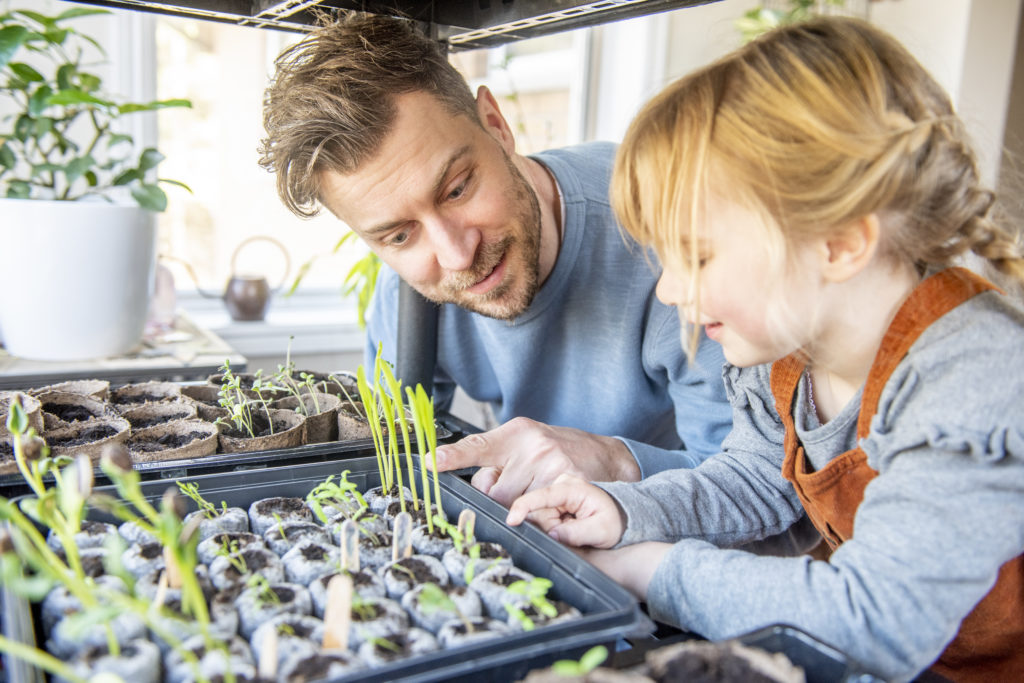
Warm & Bright
With the seeds are planted and watered, keep them toasty and moist by covering them with a clear plastic dome. You’ll keep the dome on until the seeds germinate, and then remove to encourage air circulation once they begin to grow. Remember to provide 14-16 hours of bright light to seedlings every day, with the light as close to the plants as possible.
Overall, enjoy watching these tiny plants begin, and try not to sweat the small stuff. Mistakes will happen, and you can always learn more and try again!
Related Posts
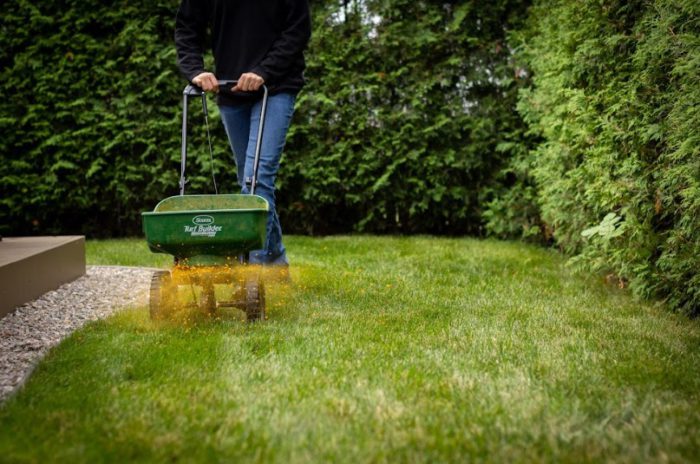
Your Spring Lawn Start-Up Guide